Contacts Overview
Sales Jumpstart Contacts: Master Your Contact List Like a Pro
Your Contacts section in Sales Jumpstart is the backbone of your lead management. This is where you keep track of every lead, customer, and prospect — organized, searchable, and ready for action.
Here’s a simple, no-fluff guide to help you add, find, and manage your contacts so you never miss a beat.
Navigating the Contacts Overview
The Contacts section is where you manage all your leads and clients in one place. It’s your hub for tracking communication, updating information, and taking action directly from each contact's record.
Watch this quick Loom video to get a full walkthrough of how to navigate through the Contacts page and understand all the features available to you.
Find Your Contacts
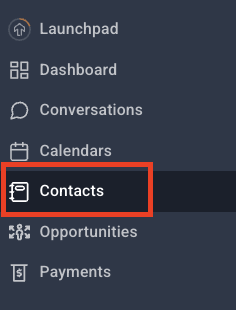
- Click Contacts from the menu.
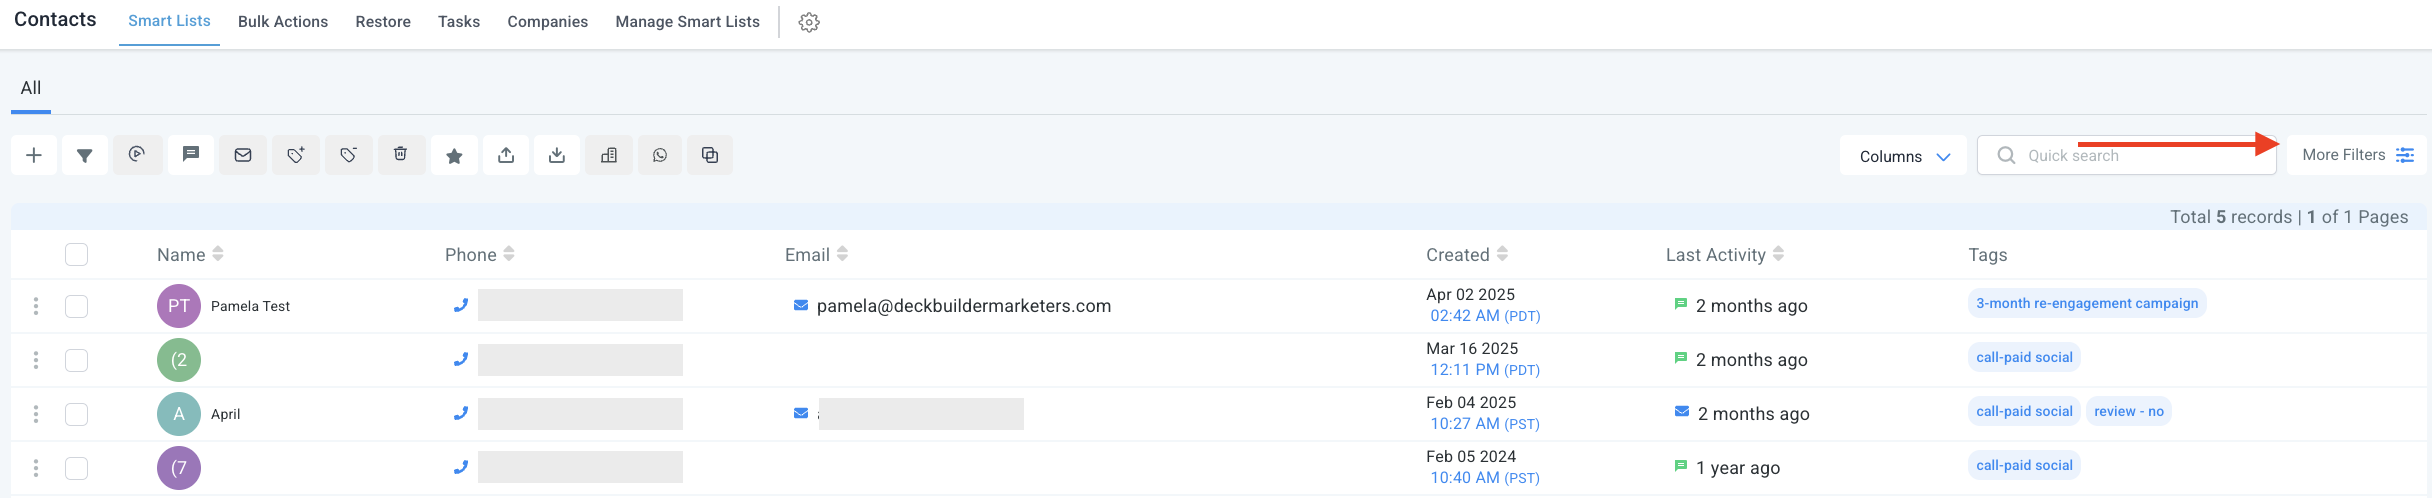
- You’ll see a list of all your contacts with key info front and center:
- Name
- Phone number
- When they were added
- Last activity
- Tags for organization
- Want to customize the view? Use the Columns dropdown at the top to show or hide the info you care about most.

Search and Filter Like a Pro
- Use the Quick Search bar to instantly find contacts by:
- Name
- Business name
- Tag
- Phone number
- Need more precision? Click More Filters to drill down with specific criteria like:
- Tag is ___
- City is not ___
- Phone number field is empty
- And more...

Take Action with Bulk Tools
At the top, you’ll see action icons that let you:
- Add Contact: Manually enter a new contact—perfect for walk-ins or new leads.
- Export Contacts: Download selected contacts as a .CSV file so you can work with them offline or share with your team.
- Import Contacts: Bring in a list of contacts via .CSV to get your system up to speed fast.
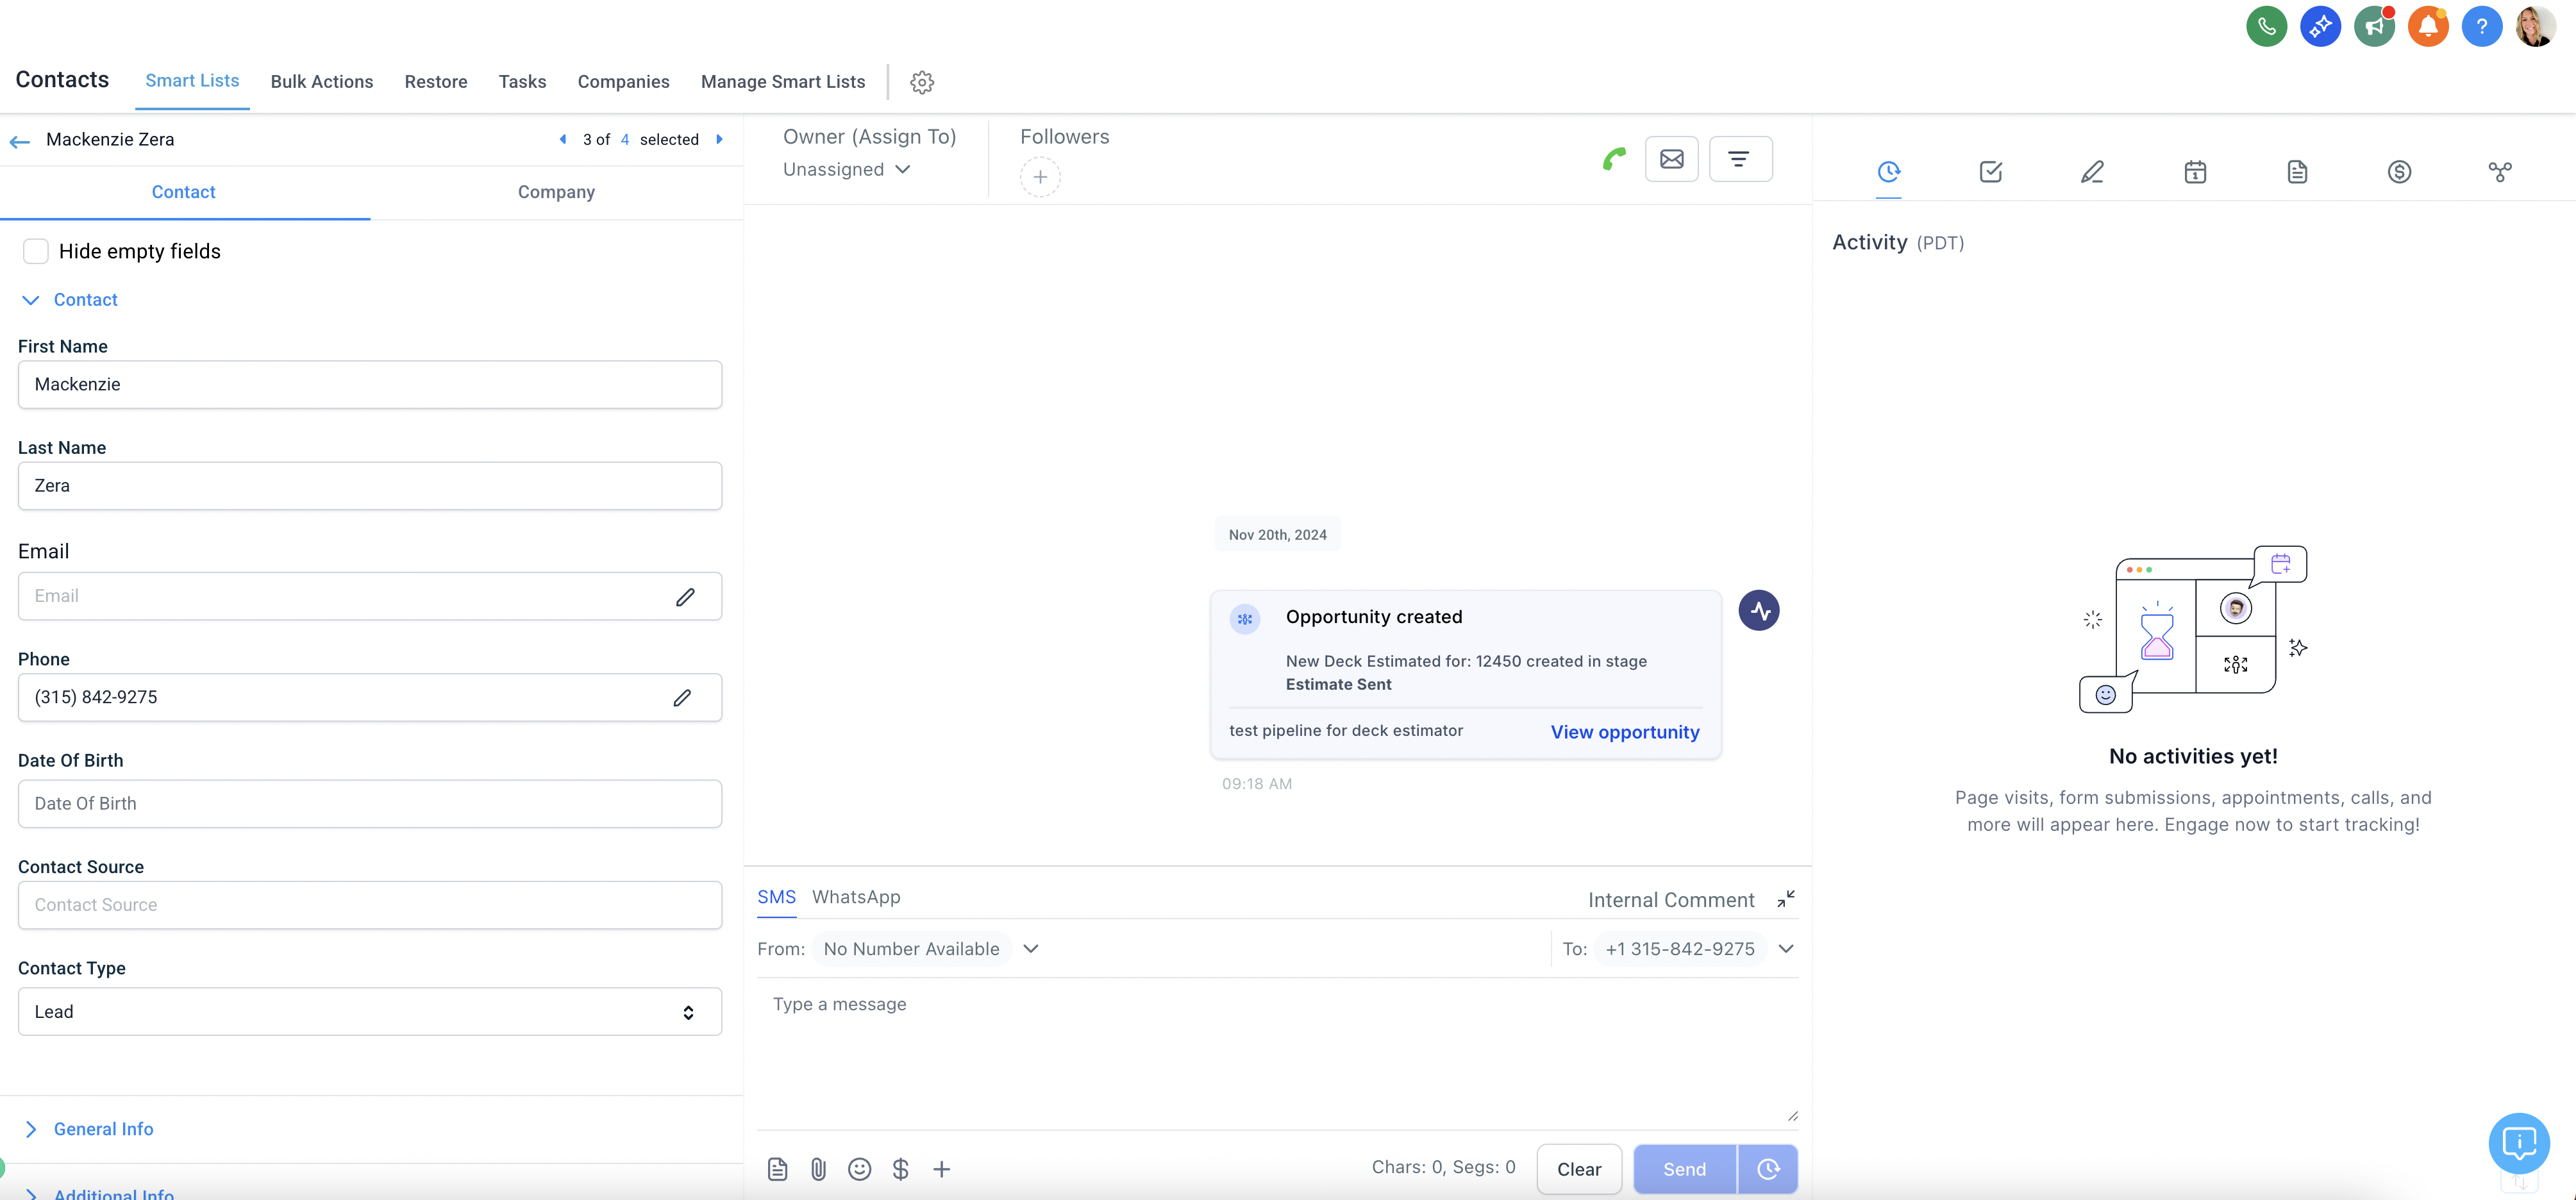
Understanding Contact Cards
- The Contact Card is your main hub for all prospect and client information.
- Left Panel: Displays key details like form fills, their current stage in the Opportunities (Sales Pipeline), and any tags the workflows or you may have applied.
- Center Panel: Shows all past and current conversations (emails, texts, phone call recordings) with the contact, similar to the Conversations view. In addition to that, in the Contacts view you will be able to see actions such as when their Opportunity Card was updated in your Sales Pipeline or when Appointments have been booked. From here, you can send emails, SMS messages, or click the phone icon in the top-right corner to place a call.
- Right Panel: Contains your actionable items. You can:
- Add Notes to keep your team aligned on important insights or updates about the contact.
- Create Tasks as reminders for follow-up actions.
- Book Appointments directly from their contact record.
- Documents that you can upload into the contact records files.
📌 Why It Matters
Contact Cards are your one-stop shop for everything related to a lead or client. They house all critical information about the contact, and they’re connected to Conversations and Opportunities—so you can easily move between communications, tasks, and the sales pipeline. Keeping your contacts organized in one place ensures your follow-ups are timely, personalized, and always in sync with where the contact is in your process.